Post-Processing Workflow
Post-processing in deep-sky imaging refers to the process of taking the master frame output from stacking (integration) and, through a series of corrections, enhancements, and color operations, producing a finished image viewable on ordinary display devices. Its core constraint comes from the state of the data itself: the stacking output is a linear image, and some operations are physically correct only on linear data, so the order of the entire workflow cannot be rearranged arbitrarily.
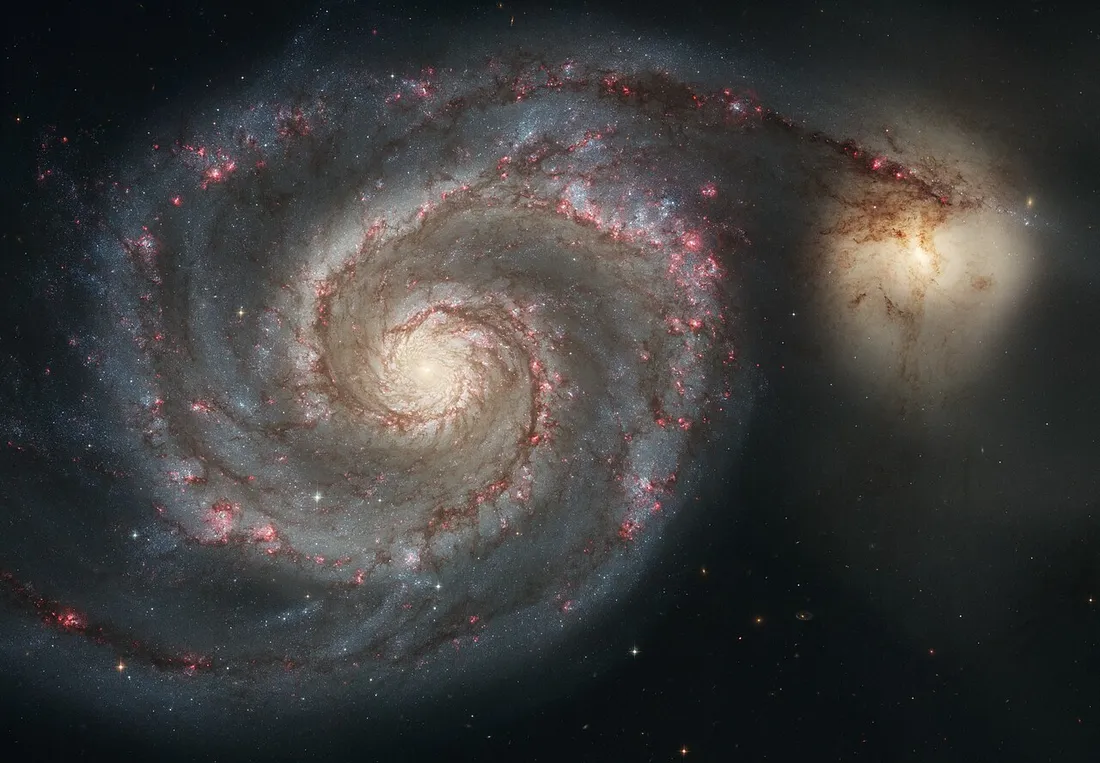
This page assumes that stacking is complete and that the input is a 32-bit floating-point linear master frame (monochrome or color), and uses mainstream tools such as PixInsight, Siril, GraXpert, StarNet, and Photoshop to illustrate each stage.
Linear vs. nonlinear images
Section titled “Linear vs. nonlinear images”The prerequisite for understanding the post-processing order is distinguishing between two image states.
Linear image: the pixel values are proportional to the number of photons reaching the sensor (the amount of light collected); this is the state directly output by stacking. Its characteristic is that the vast majority of pixels in the histogram are crowded at the darkest end, and faint targets are nearly invisible under the default display. Background extraction, color calibration, classical deconvolution, and similar operations rely on the relationship “pixel value proportional to light intensity” and must be performed in the linear state. To make observation easier, one typically applies a Screen Transfer Function (STF) as a temporary stretch that affects only the display and does not change the underlying data.
Nonlinear image: after a stretch, the shadows are greatly brightened and the highlights are compressed, so the pixel values are no longer proportional to light intensity. The stretch is the irreversible watershed from linear to nonlinear; from this point on, operations such as noise reduction, star reduction, local contrast, and saturation are all carried out in the nonlinear state.
| Stage | Data state | Typical operations | Reason |
|---|---|---|---|
| Linear stage | Pixel value ∝ light intensity | Cropping, background extraction, color calibration, (linear) noise reduction, deconvolution | The mathematical models of these operations assume a linear relationship |
| Stretch | Linear → nonlinear | GHS / histogram transformation / STF permanentization | Lift faint signal into the visible range |
| Nonlinear stage | Pixel values already distorted | Star reduction, local contrast, HDR, saturation, final noise reduction | These are visual enhancements and do not require linearity |
Standard workflow
Section titled “Standard workflow”Below is the complete order from the linear master frame to the finished image. Each step notes its main purpose and representative tools; in actual processing you may add or remove steps depending on your data, but the overall framework of linear operations first, stretch in the middle, nonlinear enhancements last should be preserved.
-
Crop & background neutralization—use tools such as DynamicCrop to crop away the jagged edges produced by registration during stacking, vignetted corners, and regions where the stacked frames do not fully overlap, obtaining a clean, valid field of view. Then perform background neutralization so that the background gray levels of the three color channels match, eliminating an overall color cast and providing a flat starting point for subsequent color calibration.
-
Gradient removal / background extraction—remove large-scale brightness and color non-uniformities caused by light pollution, moonlight, vignetting, and airglow gradients. Commonly used: PixInsight’s DynamicBackgroundExtraction (DBE, with manual sample placement and high accuracy) and AutomaticBackgroundExtractor (ABE, automatic polynomial fitting); the standalone AI tool GraXpert; Siril’s background extraction; and PixInsight’s newer GradientCorrection / MultiscaleGradientCorrection. The principle is to sample regions judged to be background, fit a smooth background model, and then subtract it from the original image.
-
Spectrophotometric / photometric color calibration (SPCC / PCC)—use the true colors of stars from a catalog as a reference to objectively determine the white balance, making colors reproducible rather than subjectively tuned. PixInsight provides PhotometricColorCalibration (PCC, based on the APASS photometric catalog) and the newer SpectrophotometricColorCalibration (SPCC, based on Gaia’s stellar spectral database, combined with filter transmission curves and sensor quantum efficiency, with significantly higher accuracy). Calibration relies on the linear relationship of stellar brightness and must be performed before the stretch, and usually after gradient removal.
-
Linear-stage noise reduction—before the stretch amplifies the noise, first apply a round of gentle noise reduction in the linear stage. Commonly used are NoiseXTerminator, GraXpert noise reduction, or PixInsight’s TGVDenoise / MultiscaleLinearTransform. Noise reduction in the linear stage can suppress background noise without losing shadow detail; the settings should be conservative.
-
Deconvolution / sharpening—recover the blur caused by atmospheric seeing, tracking errors, and optical diffraction, tighten star points, and enhance detail. The AI tool BlurXTerminator has become the mainstream choice; it can automatically estimate the PSF and separately control the sharpening strength of stellar and non-stellar structures. Classical deconvolution (such as Richardson–Lucy) requires manually constructing the PSF and can only be used on linear images. This step is completed before the stretch.
-
Stretch (linear to nonlinear)—redistribute the histogram, concentrated at the dark end, across the entire dynamic range, making faint structures visible while keeping bright stars from overexposing. Representative methods: Generalized Hyperbolic Stretch (GHS), Histogram Transformation (HT), the inverse hyperbolic sine stretch (arcsinh), and permanentizing the STF parameters into a permanent stretch. This is the key turning point from linear to nonlinear.
-
Star reduction / star separation—use StarNet (StarNet++) or StarXTerminator to extract the stars from the image, obtaining a “starless” layer and a “stars-only” layer. On the starless image you can freely enhance nebular structures without amplifying the star points; on the stars image you can separately shrink and desaturate them. This step both prevents subsequent enhancements from making star points bloated and makes it easier to process stars and gas separately in narrowband data.
-
Local contrast / HDR / saturation—perform visual enhancements on the nonlinear starless image: local contrast and multiscale processing (such as LocalHistogramEqualization and HDRMultiscaleTransform) bring out the internal structure of the nebula, and curves and saturation tools strengthen the color. It is recommended to use a mask to confine the enhancements to the target region, avoiding lifting the background noise.
-
Final denoise & recombination—apply a last round of nonlinear noise reduction to the starless image, mainly suppressing the background’s color noise and luminance noise; then add the processed stars image back onto the starless image (commonly using “screen” blending or addition), adjust the opacity and size of the star points, and complete the recombination. Finally, make overall color fine-tuning, cropping, and export (PNG/TIFF/JPEG).
Division of labor among the main software
Section titled “Division of labor among the main software”Each piece of software has a different focus, and a real workflow often combines multiple tools.
| Software | Type | Strengths |
|---|---|---|
| PixInsight | Commercial, professional full workflow | DBE/ABE, SPCC/PCC, deconvolution, masks, GHS; the most complete feature set |
| Siril | Free and open source | Stacking, background extraction, PCC/SPCC, basic stretching; lightweight and easy to start with |
| GraXpert | Free (open source) | AI background extraction and noise reduction; can run standalone or as a plugin |
| StarNet / StarNet++ | Free | Neural-network-based star reduction and star separation |
| BlurXTerminator | Commercial plugin | AI deconvolution and sharpening; must run inside a host such as PixInsight |
| Photoshop | Commercial, general-purpose imaging | Curves, layer compositing, local touch-ups, and final output |
Color combination for narrowband data
Section titled “Color combination for narrowband data”Data captured with narrowband filters such as H-alpha (656.3 nm), OIII (500.7 nm), and SII (672.4 nm) is usually monochrome, and the channels need to be mapped to RGB to synthesize a false-color image. The mapping is not unique; two common schemes are:
| Palette | Channel mapping (red / green / blue) | Use cases and characteristics |
|---|---|---|
| SHO (Hubble palette) | SII → red, H-alpha → green, OIII → blue | Requires three filters; the signature golden–cyan color scheme, often used for emission nebulae |
| HOO (bichrome) | H-alpha → red, OIII → green, OIII → blue | Requires only two filters; a near-natural red–cyan color scheme, suitable for OSC dual-narrowband data |
Points to note for narrowband combination:
- Channel alignment and scaling: before combining, the monochrome channels must be registered and aligned, and methods such as linear fit should be used to balance the brightness scales, otherwise one channel will dominate the image.
- Green overflow: in SHO, H-alpha is mapped to the green channel, so the combination often comes out overall green; use tools such as SCNR (Subtractive Chromatic Noise Reduction) to remove the excess green.
- Magenta stars: narrowband stars often appear magenta/pink in false color; typically separate the star points with a star reduction tool and process them individually, or replace them with broadband RGB stars before combining.
- Color calibration: narrowband data does not use broadband PCC; SPCC provides a narrowband working mode that can calibrate more accurately according to the emission-line wavelengths.
For more narrowband color schemes and blending techniques, see processing techniques; for the background on filters and emission lines, see narrowband imaging.
Common pitfalls
Section titled “Common pitfalls”Practical principles:
- Watch the histogram at every step: the left edge corresponds to the black point; do not push the background peak all the way to the left edge (this would clip the shadows), and usually keep a little headroom.
- A little at a time: it is better to stretch, denoise, and sharpen gently in several passes than to overdo it in one step; most operations are irreversible.
- Make good use of masks: confining noise reduction to the background and sharpening and contrast enhancement to the bright target is the key to controlling noise and protecting star points.
- Keep intermediate versions: save a copy before irreversible steps such as stretching and star reduction, to make it easy to roll back or re-blend (for example, replacing nonlinearly processed star points with the stars from the linear image).
References
Section titled “References”- Astrophotography — Wikipedia: an overview of astrophotography, covering stacking, dark-frame calibration, and basic digital processing.
- My Astrophotography Processing Workflow in PixInsight & Photoshop — AstroBackyard: a complete linear-to-nonlinear deep-sky processing workflow, including the tools used at each step.
- PixInsight documentation: Spectrophotometry-based Color Calibration (SPCC): the principles of SPCC and its accuracy advantages over PCC, plus narrowband support.
- GeneralizedHyperbolicStretch — GHS official documentation: the mathematical method of the generalized hyperbolic stretch and stretch control from linear to nonlinear.
- PixInsight Narrowband Workflow for Emission Nebula — Chaotic Nebula: the workflow for channel combination, star reduction, and SCNR processing of narrowband emission nebulae.
- Processing Guide for Narrowband Imaging — Astro Space Guide: key points for SHO/HOO color schemes and handling magenta stars and green overflow.