Getting Started with Remote Imaging
Remote imaging refers to astrophotography carried out over the internet using telescopes installed at premium dark-sky sites and maintained by professional teams. Users select targets online, submit observing requests or take real-time control of the imaging, and then download the raw data (usually FITS files) for post-processing. Installation, power, focusing, guiding, opening and closing the dome or roll-off roof, weather monitoring and routine maintenance are all handled by the site team, so the user never has to be physically present.
This model rests on three mature technologies: the spread of high-speed internet to remote regions, computer-controlled equatorial mounts and mechanical hardware, and digital imaging with CCD/CMOS cameras. Together they allow an observer to operate equipment under dark skies on the other side of the planet from a home in the city.
Definitions and Related Concepts
Section titled “Definitions and Related Concepts”“Remote telescope” and “robotic telescope” are often used interchangeably, but the two emphasize different things and should be distinguished.
| Concept | English | Key feature |
|---|---|---|
| Remote telescope | remote telescope | Emphasizes geographic separation; the operator controls it from a distance over a network, possibly in real-time interactive mode |
| Robotic telescope | robotic telescope | Emphasizes autonomous operation; observations are carried out automatically on a preset schedule, requiring no human intervention at night |
| Remote hosting | remote hosting | The user ships their own equipment to a dark-sky site for permanent installation, with maintenance performed by a technical team on their behalf |
| Remote rental | remote rental | The user does not own equipment and instead rents telescope time on shared instruments at the site |
A single instrument can be both remote and robotic: the operator submits a plan remotely, and the system executes it autonomously. This page is aimed at beginners and focuses mainly on the remote rental model—“not owning equipment, but renting telescope time or commissioning imaging directly.”
Use Cases
Section titled “Use Cases”Buying your own deep-sky imaging gear means simultaneously solving a whole series of problems: the equatorial mount, polar alignment, focusing, guiding, power, weather, and finding a dark-sky location. For readers limited in any one of equipment, dark skies, or time, remote imaging offers a way around these hurdles.
| Challenges of owning equipment | How remote imaging addresses them |
|---|---|
| Equatorial mount and polar alignment | The site is already set up, precisely polar-aligned, and kept that way over the long term |
| Severe light pollution | The telescope sits under Bortle 1–3 dark skies; see observing conditions |
| Weather left entirely to chance | Multiple sites are available; premium sites have a high probability of clear nights, and cloudy nights usually are not billed |
| Large one-time outlay | Pay per night, per hour of telescope time, or by monthly subscription, starting from a few tens of dollars |
| Equipment maintenance and troubleshooting | Handled by the site team; the user never touches the hardware |
| Hemisphere and seasonal limits | You can call on both Northern and Southern Hemisphere sites at once, capturing targets never visible from your home location |
With sites in both hemispheres, a user in the Northern Hemisphere can also image targets in the southern sky (such as the Carina Nebula, the ω Centauri globular cluster, and so on); whether a specific target can be captured at a given site in the current season can be judged with the help of Northern and Southern Hemisphere visibility.
Control Modes
Section titled “Control Modes”The way remote platforms acquire images falls broadly into two categories, the difference being “who decides how each frame is shot.”
| Mode | English | How it works | Who it suits |
|---|---|---|---|
| Real-time control | real-time / interactive control | The user operates in real time through a web page or remote desktop (AnyDesk, TeamViewer), setting their own RA/Dec pointing, filters, exposure length, number of frames, dither, focus, and plate solving | Users who want full control over the parameters and have some experience |
| Commissioned / scheduled | queue / scheduled imaging | The user submits targets and requirements, and the system shoots automatically on suitable nights according to a schedule, or the site acquires the data on the user’s behalf and delivers it once complete | Beginners, and users who want to reduce operational complexity |
Real-time control is closer to “sitting at the telescope yourself”—highly flexible but requiring you to master more operations; commissioned/scheduled imaging hands execution over to an automated system, so the user only needs to focus on the target and the final data. Automation on robotic platforms typically covers automatic target selection, automatic guide-star selection, interrupting or rescheduling plans for “targets of opportunity,” and automatic plate solving and error correction.
Billing Models
Section titled “Billing Models”Billing varies widely between platforms. The common arrangements are listed below; actual prices should be confirmed on each platform’s official website.
| Billing model | English | Typical range | Notes |
|---|---|---|---|
| Flat per night | per night | From about $70–$80 / night | Book a whole night at a time; the price is relatively fixed, suitable for a first try |
| Per hour | per hour | From about €9 / hour or $70 / hour | Pay only for the time actually used; highly flexible |
| Monthly subscription | monthly subscription | Roughly $8–$490 / month | After subscribing you get telescope time by tier, often combined with a points system |
| Equipment hosting | hosting | About $149–$1000+ / month | The user brings their own equipment for permanent installation; suited to long-term, advanced users |
Per-night and per-hour billing have the lowest barrier to entry, ideal for first trying out one or two shots to work through the pipeline; monthly subscriptions and hosting are aimed at users with high output volumes or those seeking long-term, stable occupancy.
The Complete Workflow
Section titled “The Complete Workflow”-
Choose a platform. Pick a provider based on your budget, target focal length, hemisphere, and billing preferences. Prioritize opening a free or low-barrier account to get familiar with the interface, and confirm that it delivers raw data you can post-process (see the comparison below).
-
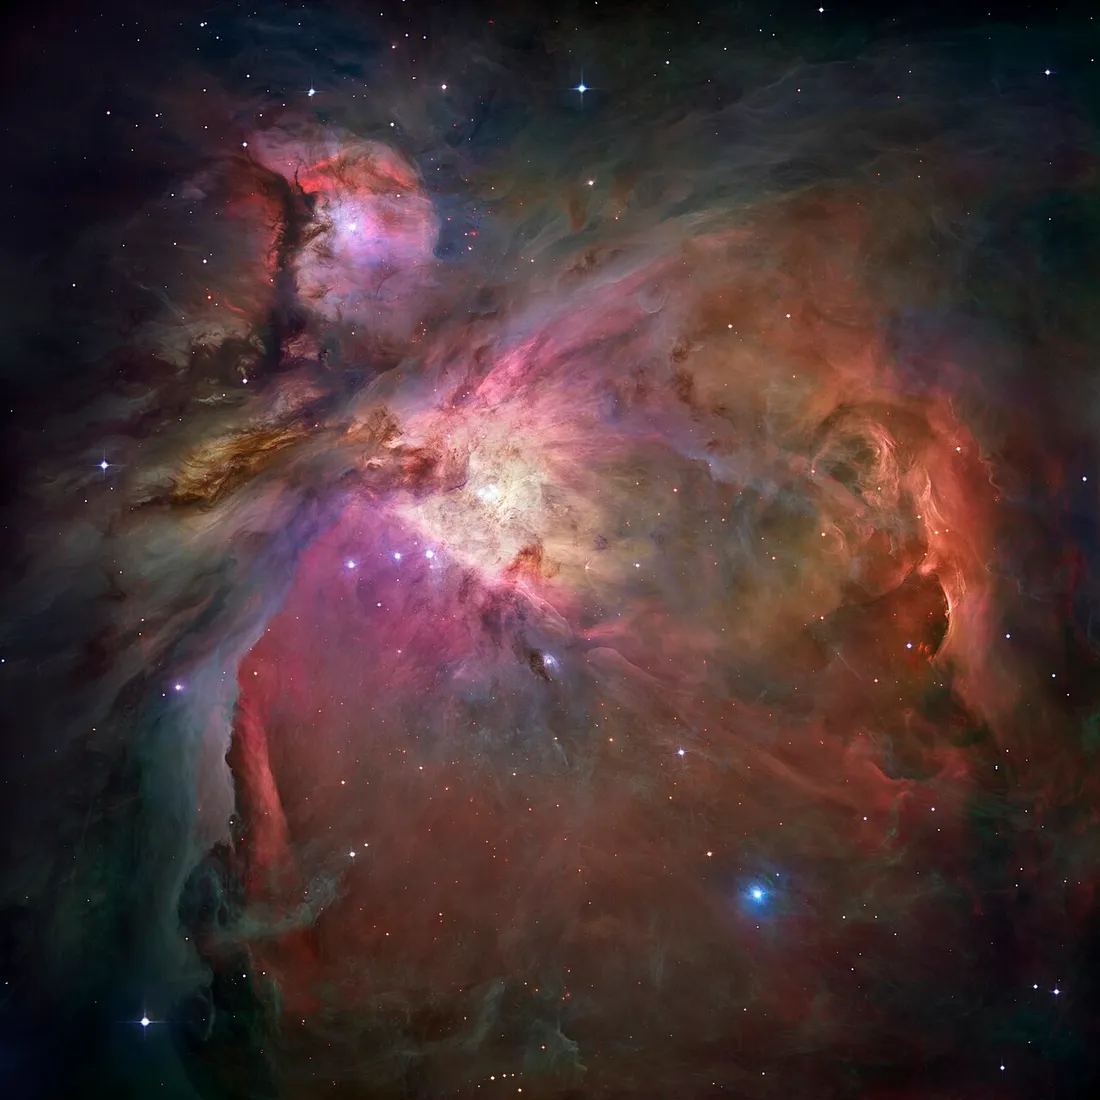
Choose a target. Beginners should prioritize large, bright objects—large emission nebulae, open clusters, bright galaxies. Use the object catalog to make a selection, and combine it with Northern and Southern Hemisphere visibility to confirm the target is high enough at the chosen site this season to be captured at night.
-
Set up or commission the imaging. Real-time control platforms require you to set the exposure length, number of frames, filters, and dither yourself; for commissioned/scheduled platforms, you submit your requirements and the system acquires the data automatically on suitable nights. Note that the single-frame exposure and the total integration time directly affect the signal-to-noise ratio.
-
Obtain the raw data. Once imaging is complete, download the unprocessed raw frames. Most platforms deliver 16-bit FITS (Flexible Image Transport System, the astronomical standard image format) files; some platforms also provide a version with basic calibration applied alongside a fully uncalibrated raw version. These sub-frames are the “negatives” for post-processing.
-
Calibrate, stack, and post-process. Import the multiple raw frames together with calibration frames such as darks and flats into software like Siril, PixInsight, or DeepSkyStacker, and perform stacking, registration, stretching, and basic correction to produce the master image.
Comparing Platform Types
Section titled “Comparing Platform Types”The table below uses three representative services to illustrate the common differences in platform positioning; it is not a recommendation ranking. When choosing, rely on the official website’s information about sites, optics, billing, and weather policies.
| Service | Positioning | Billing model | Who it suits |
|---|---|---|---|
| AstroBin | Image host / database (does not rent telescopes) | Free account available | Viewing images, checking acquisition parameters, archiving images |
| iTelescope | Dual-hemisphere remote telescope network with real-time control | Monthly subscription + telescope time | Those wanting long focal lengths, needing both hemispheres, or seeking control |
| SkyShare | Flat per night, wide-field deep sky, delivers FITS | From about $79 / night | First-timers, or those wanting to reduce operational complexity |
Limitations and Common Misconceptions
Section titled “Limitations and Common Misconceptions”Remote imaging is not without its costs. You should understand the following before choosing it.
- Ongoing expense. Equipment cost is replaced by time cost. Per-night or per-hour billing may seem low-barrier, but it adds up considerably under long-term, heavy use; hosting fees can reach hundreds to over a thousand dollars per month.
- Target queues and scheduling windows. Time on shared equipment is limited, and a desirable target may require queuing in its best season; commissioned mode is further affected by the local weather and scheduling at the site.
- Lack of hands-on learning. The remote model removes the steps of setting up by hand, polar alignment, focusing, and guiding troubleshooting—yet repeated hands-on practice is precisely the core source of experience for owners of their own gear. If your learning goal leans toward “mastering operation of the full equipment setup,” local gear offers greater value.
- Limited controllability. In commissioned/scheduled mode, the user has less control over the details of individual frames than when operating personally; real-time control mode is more flexible, but remote troubleshooting requires a certain level of technical ability.
- Misconception: remote imaging means “one-click results.” The platform is only responsible for acquiring raw data; the subsequent calibration, stacking, stretching, and post-processing still have to be done by the user, and this workload is the same as for local imaging.
Once you have the raw data, the next step is to read the stacking workflow and learn how to calibrate, register, and combine multiple FITS sub-frames into a master image.
References
Section titled “References”- Remote telescope — Wikipedia: The definition of remote telescopes, their development background, and their use in amateur astronomy.
- Robotic telescope — Wikipedia: The autonomous and interactive observing modes of robotic telescopes, their automation architecture, and scheduling mechanisms.
- Remote astrophotography — AstroBin: The difference between the remote hosting and rental models and their methods of data delivery.
- iTelescope: A dual-hemisphere remote telescope network, describing the real-time control workflow and FITS data delivery.
- The 7 Best Remote Observatories for Astrophotography — AstroBackyard: Billing models, Bortle dark-sky levels, hemisphere distribution, and a pros-and-cons analysis of remote sites.